Part 1. How to Register PDNob Image Translator?
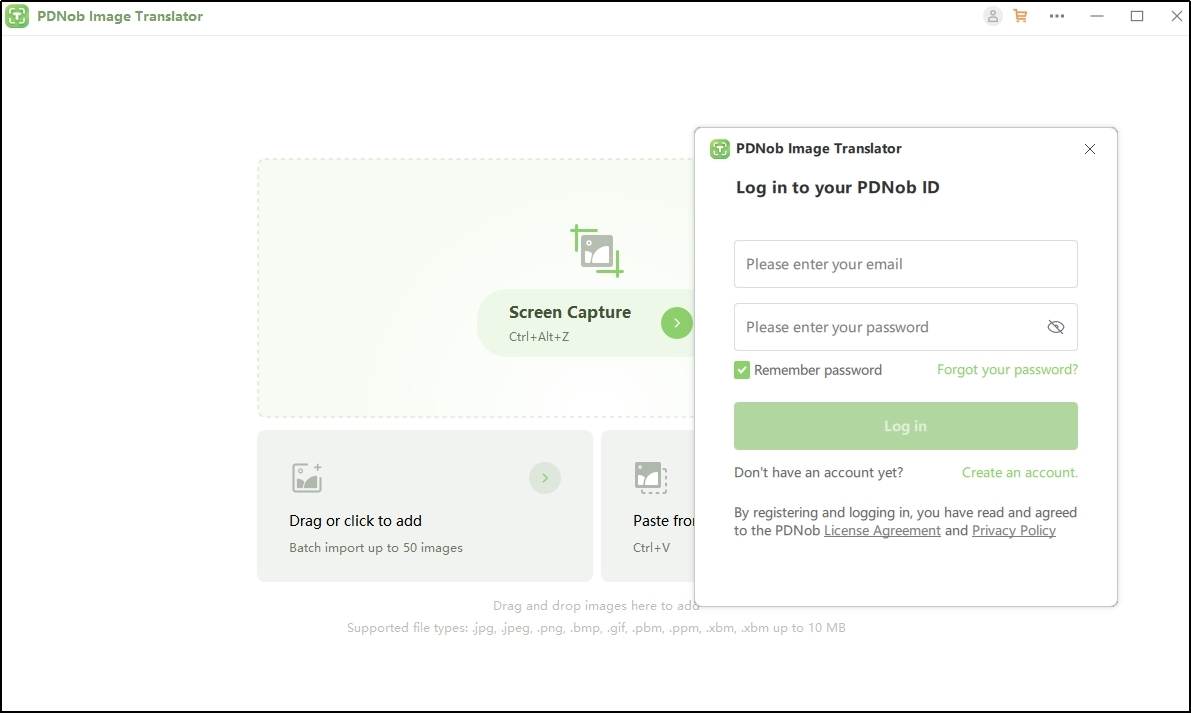
You can register PDNob Image Translator to save your operations or images by clicking on the profile icon from the top menu bar. It will open a log-in box from there you can either register as a new user or sign-in to your existing account.
Part 2: How to Use PDNob Image Translator?
2.1 Upload Images
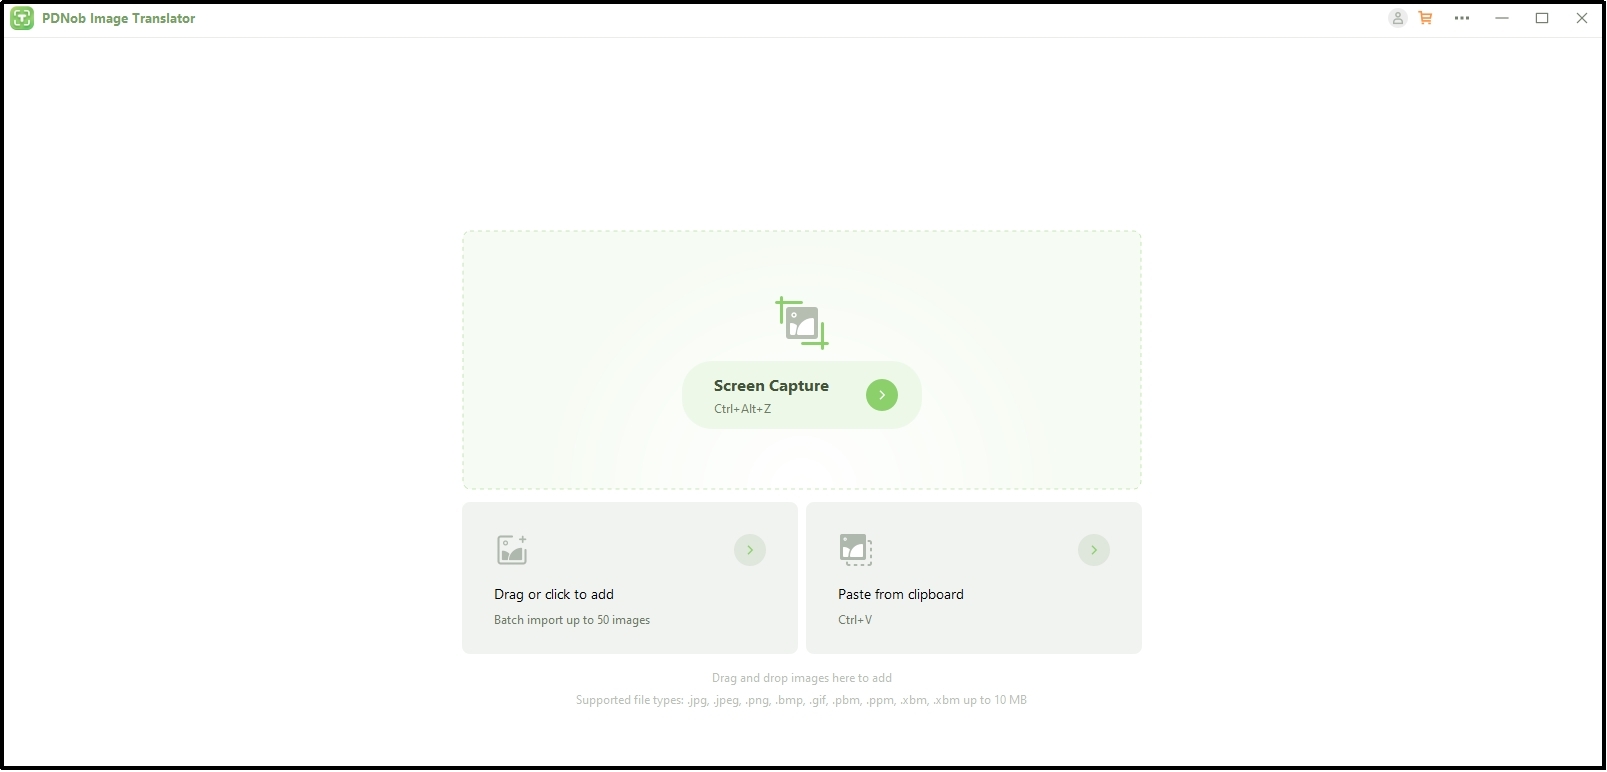
PDNob Image Translator offers multiple options to insert your images to get them translated. Here are all three methods through which you can get your images added to this software.
Screen Capture: You can capture any part of your screen using shortcut key of “Ctrl + Alt + Z” on your Windows device. Instead, you can also click anywhere on the box to open the screenshot tool.
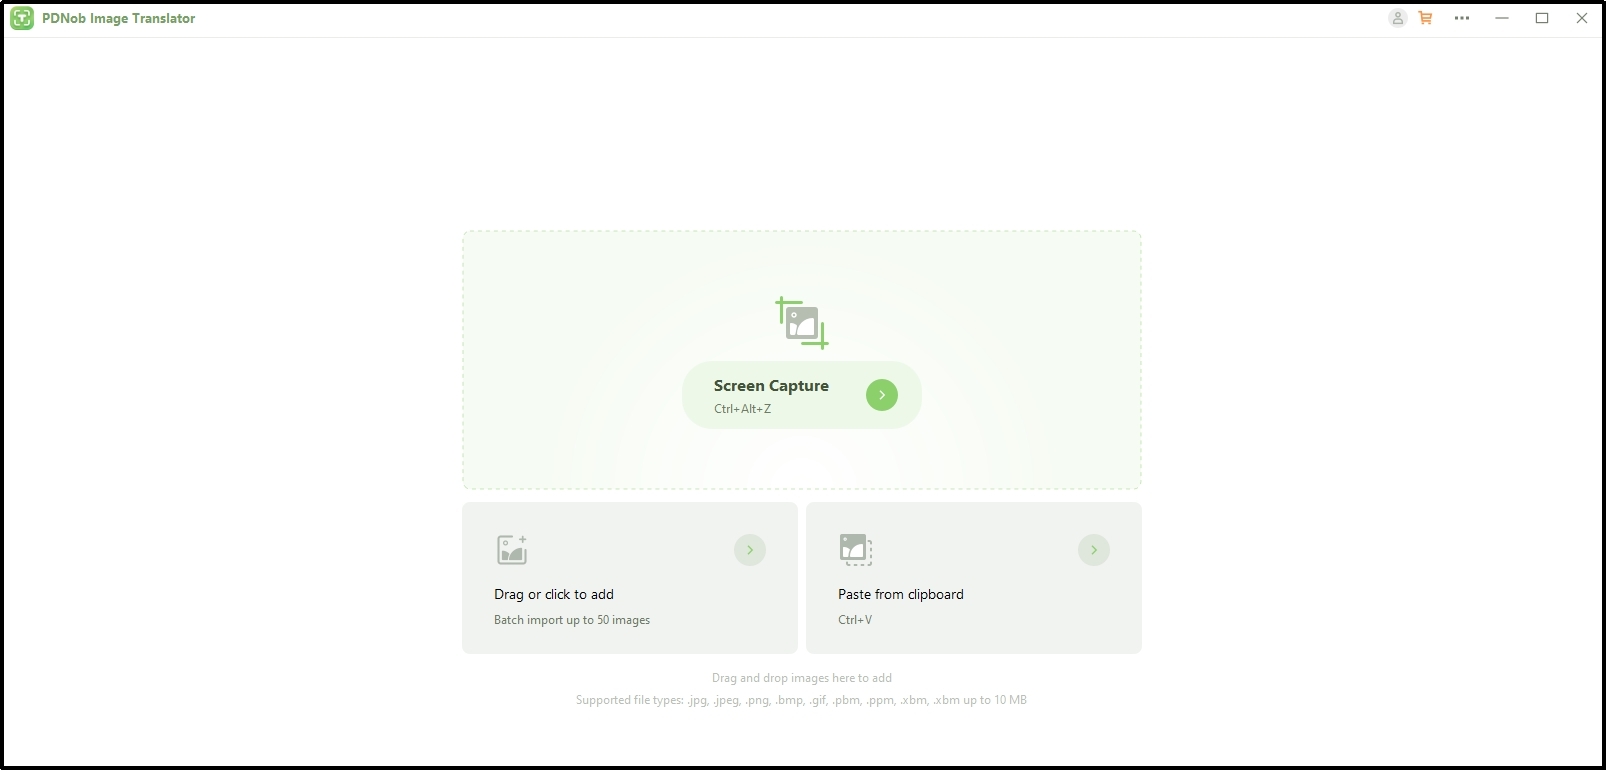
Add Images: It also enables you to drag & drop or click to add images. You need to click on the box to open your files and choose from them to get them translated. Through this method, you can upload up to 50 images in one go.
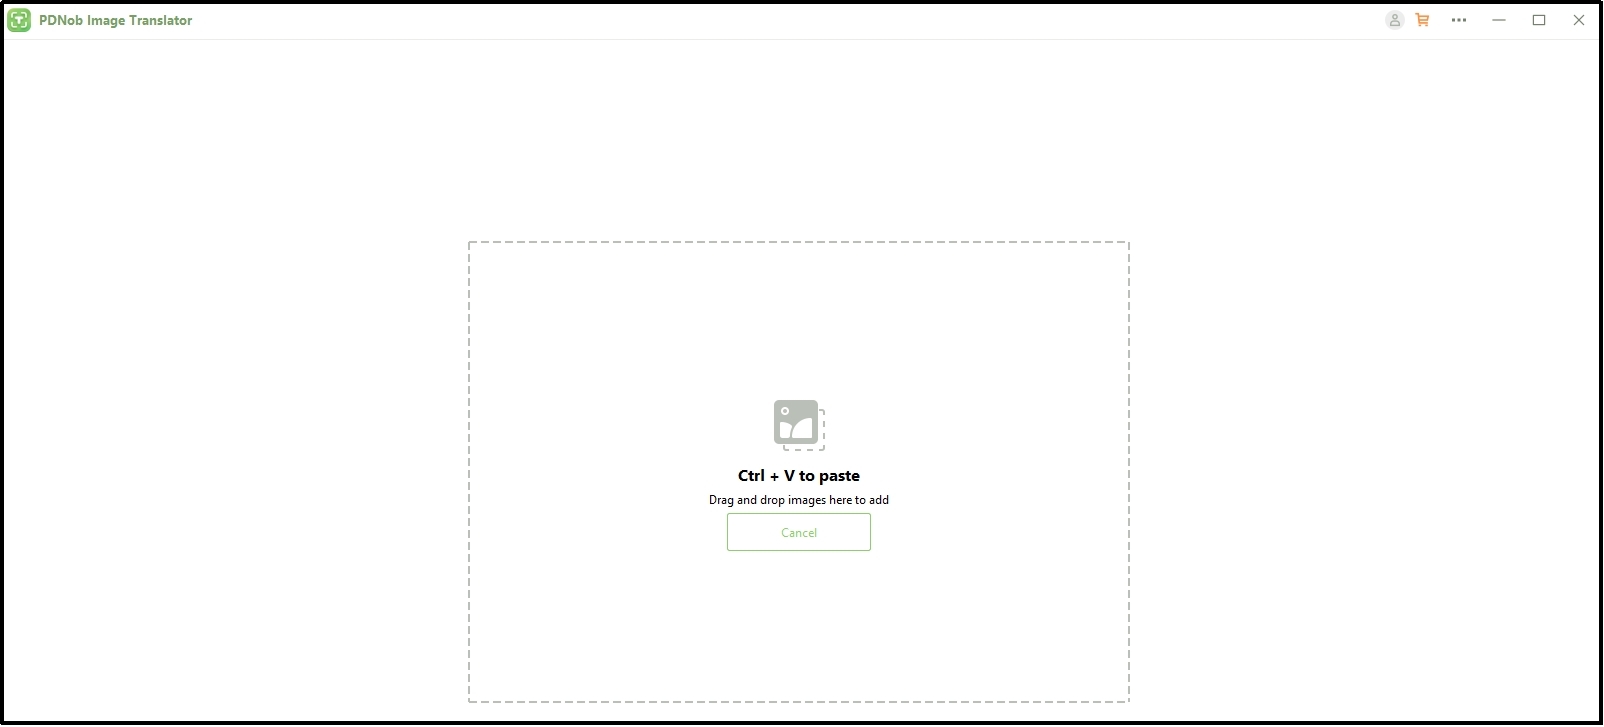
Paste from Clipboard: If you have copied the images on your clipboard, click on this option. It will open a new box with shortcut key display as well as cancel button to return to main screen.
2.2 Language Selection
Once you have selected the images from any of the above methods, you need to wait a bit. It will take a few seconds to scan the image’s text and display it in the “Recognized Text” box automatically. If there are multiple languages in an image or the recognized text is not accurate, you can choose the “Identify Language” by clicking on the dropdown list of languages. You can also choose the “Translate Language” by clicking on the dropdown list of languages to get the text translated. It will also write the translated text on the image for your further usage.
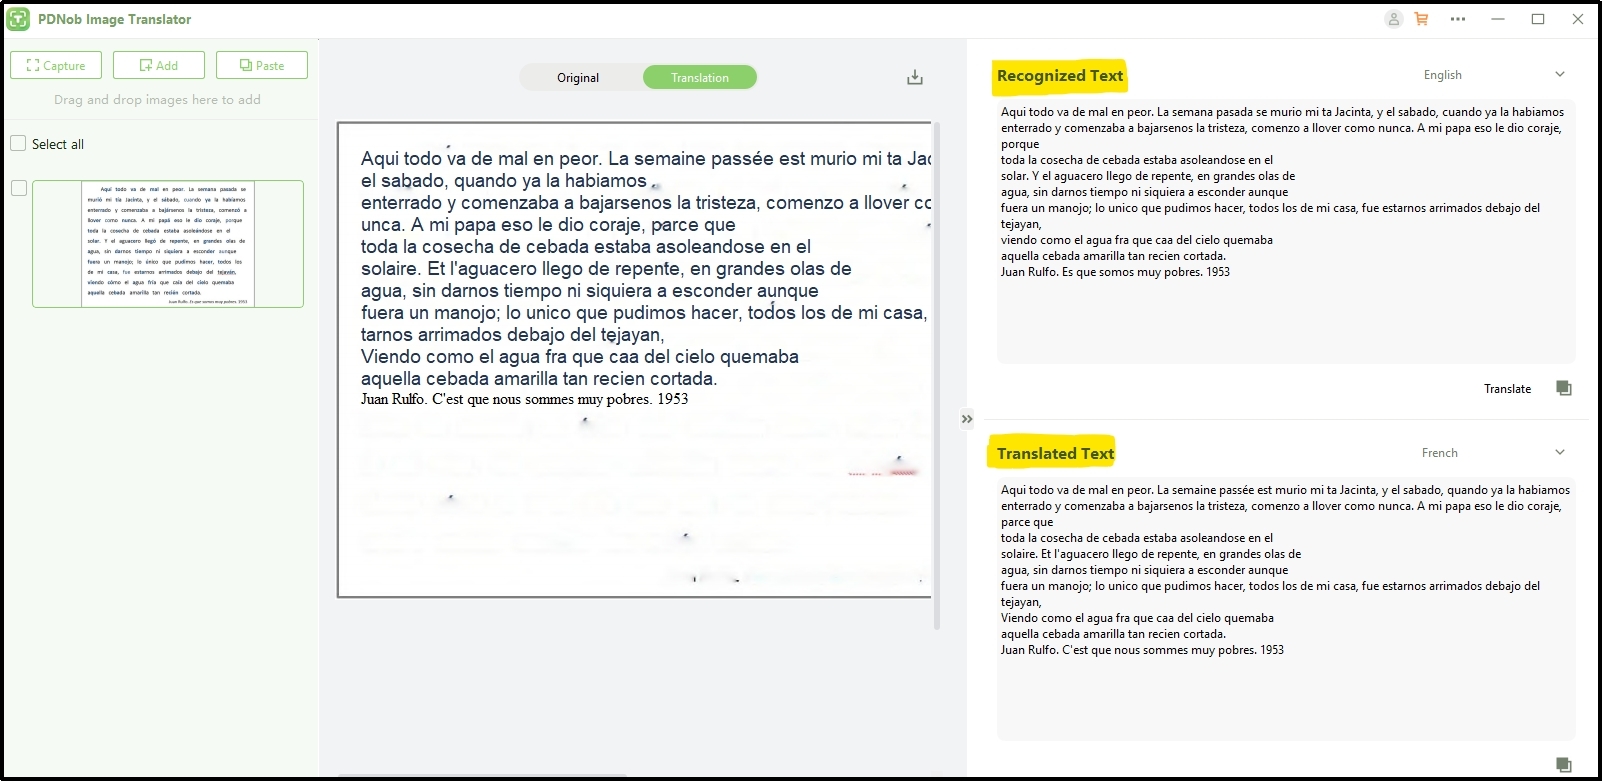
2.3 Export Images/Text with Translation
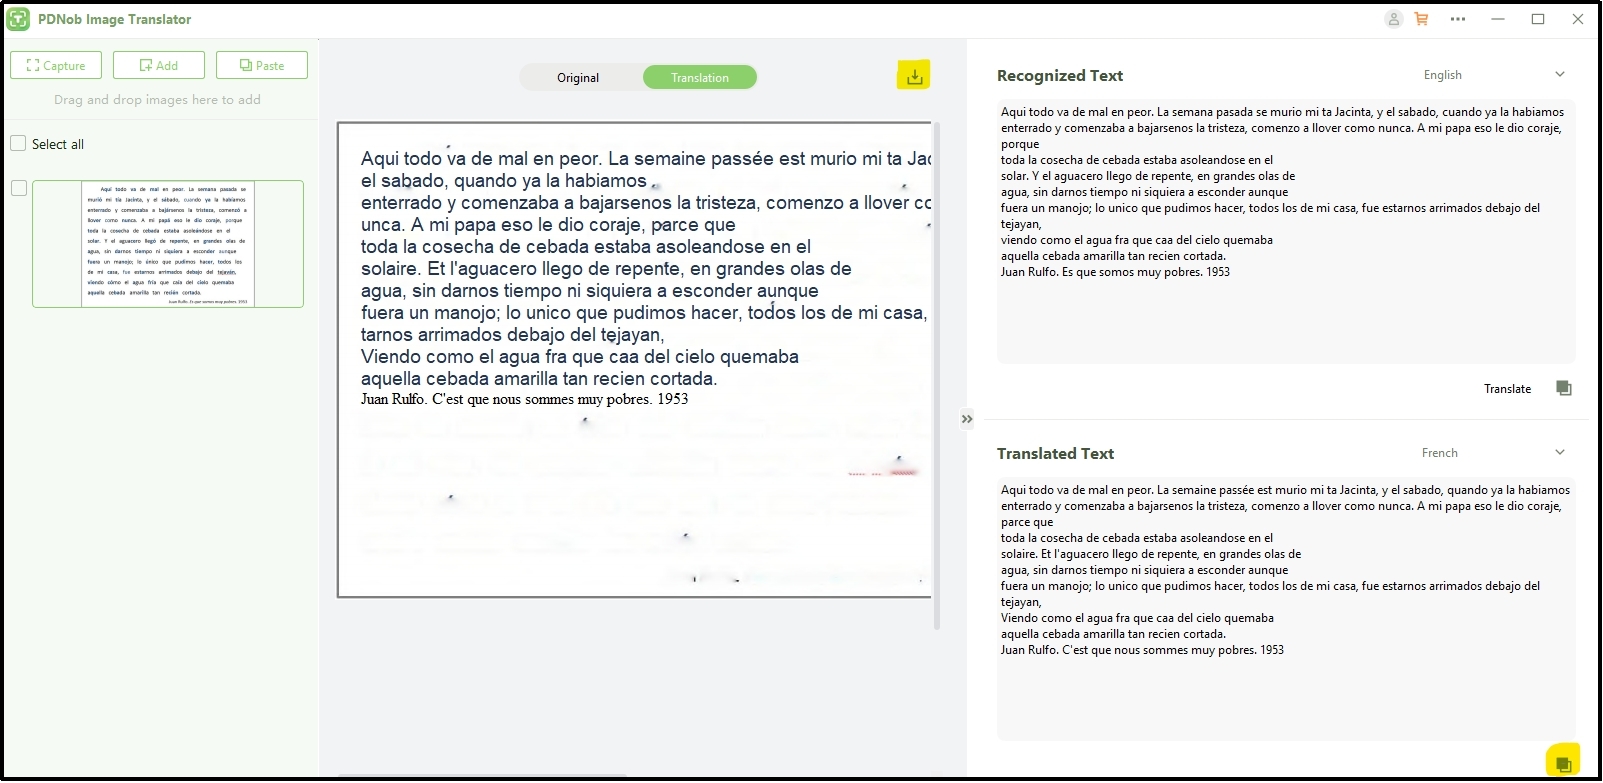
After finishing the translation of your images, you can export the image with translated text by clicking on the “Download” arrow shown above the image. Also, you can copy the translated text by clicking on the “Copy” icon given below the translated text box.
Part 3. Settings
Using the three dots shown in the top right corner to get into Preferences , you can change settings of this software. Here are what changes you can make using this section.
3.1 Shortcut Keys
You can change the shortcut keys for capturing the screenshot or adding the images. After opening this setting, you can check the built-in shortcuts and edit them if you want.

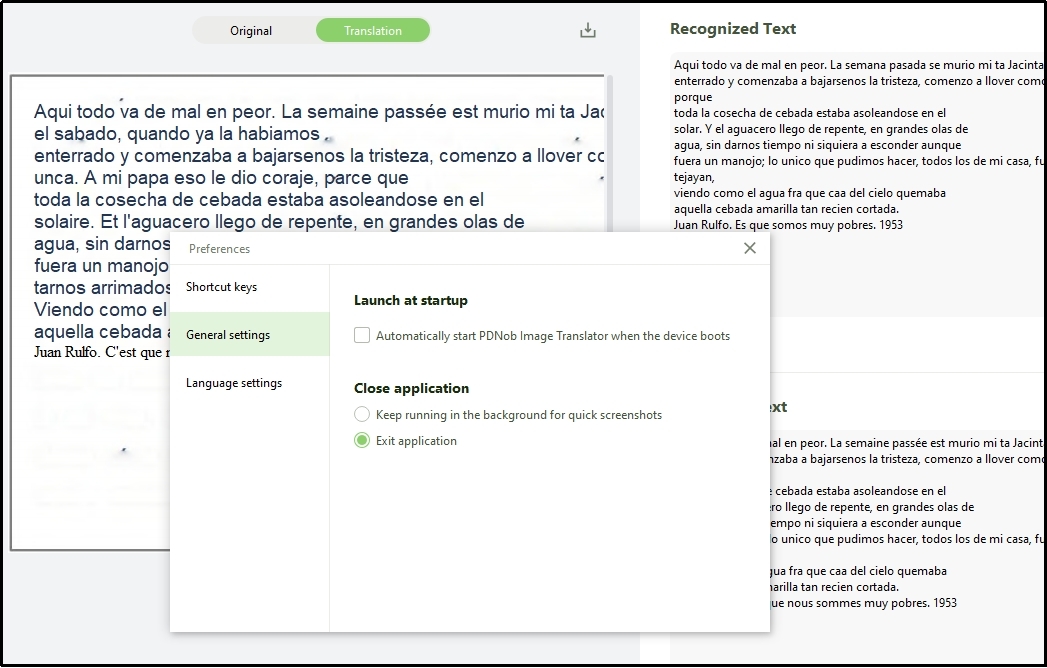
3.2 General Settings
It enables you to adjust the general settings like the automatic starting of the software after turning on your system and adjusting the action by clicking on the close icon.
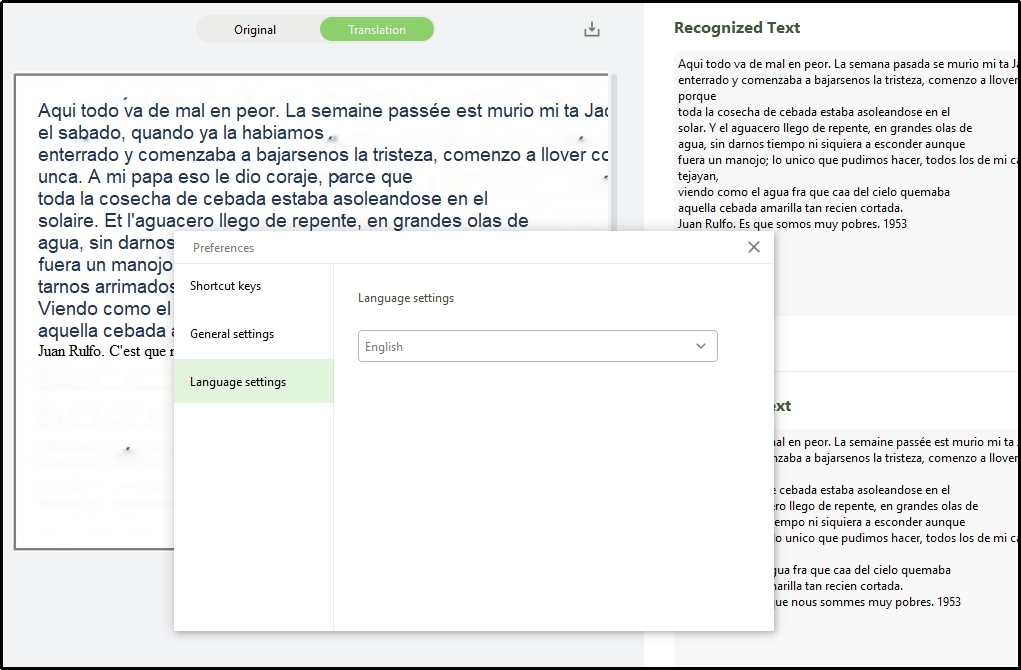
3.3 Language Settings
It allows you to change the built-in language setting for the uploaded images.
Part 4. Download Problem (For Mac users)
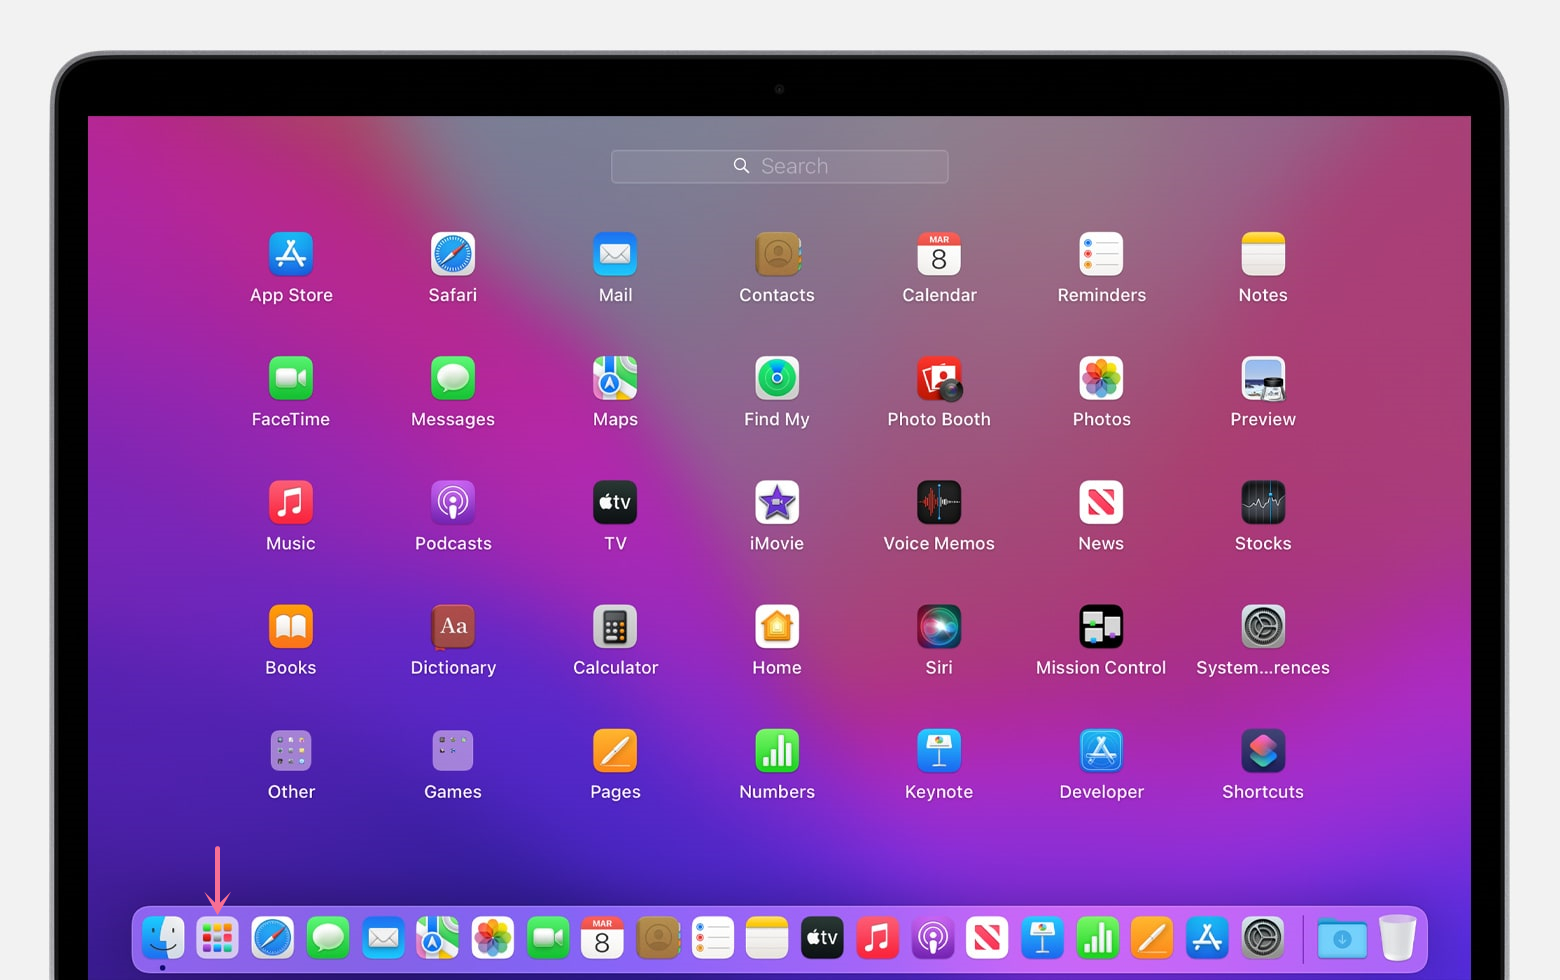
- Step 1: In the launchpad, click the icon to open the program.
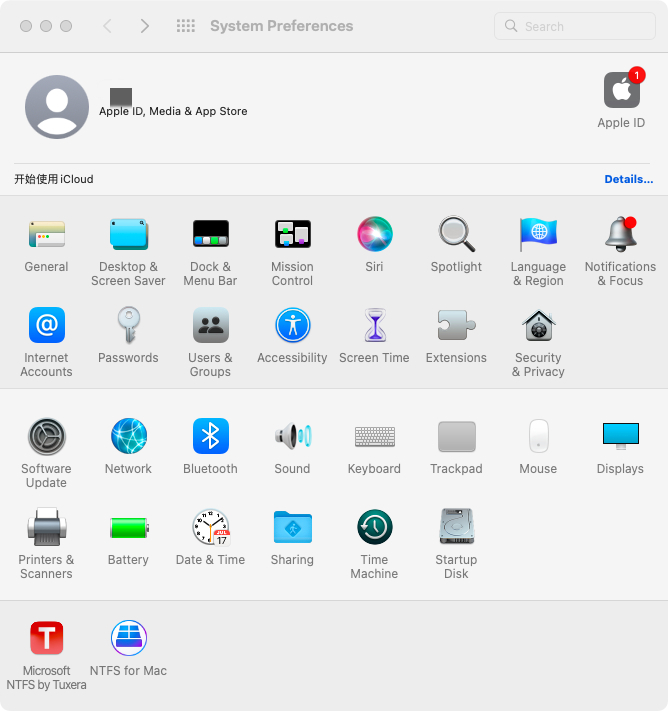
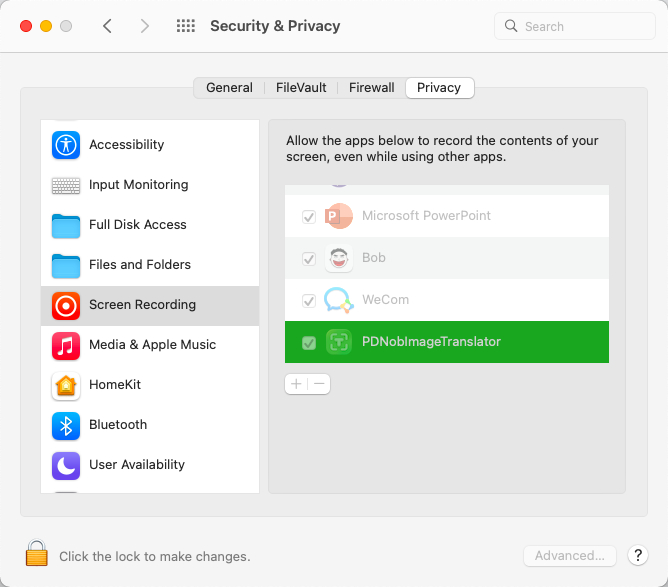
- Step 2: Click to open System Preferences > Security & Privacy > Privacy > Screen Recording > give the permission to PDNob Image Translator.
- Step 3: Check and restart PDNob Image Translator.
Now, you can copy image or PDF text on the Mac anytime you want.